I was influenced by Losech over at
The Adventures of Conker the Shiba Inu to modify Ebon's
Approach pack to be more like the
Palisades pack. Here's how I did it. You can find more detailed information from Losech, who modified both an
Approach II (the older one) and
Approach (the newer one) pack, in different ways. I used her information on the modification of the pack that's identical to Ebon's, but I changed it a bit to make sure the "tree" could handle the amount of weight I intended to place in the pack. I had a bit of an advantage because the pack's so large, so adding reinforcement was a lot easier than it would have been on one of the smaller packs. I placed the strapping in what I thought was the best orientation for the pack's size and shape, particularly to accommodate easy access to the existing handle and leash attachments. Most of the strapping placement was patterned on the existing stitching on the underlying harness.
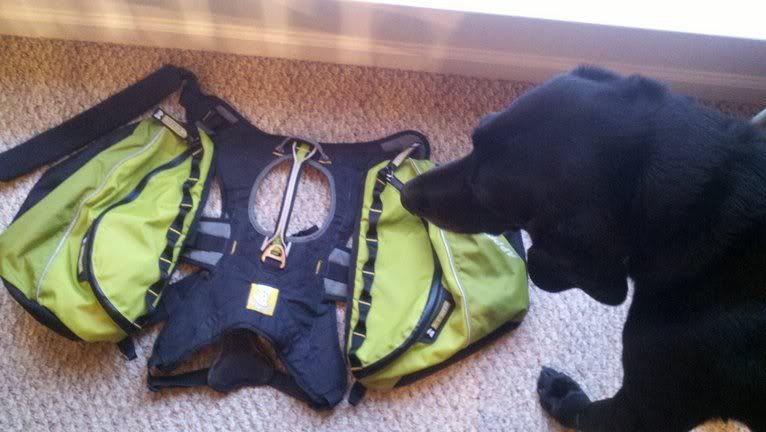 |
| Ebon with the pack, bags already removed. |
 |
| All set up and ready to go. |
Here are my materials, most of which were purchased at a local fabric store for right around $20:
- Ruff Wear Approach Pack (size large)
- Sewing machine
- Four one inch plastic buckles
- Three yards of black one inch heavy-duty nylon strapping/belt material
- One yard of black two inch polypropylene strapping/belt material
- One spool black heavyweight/upholstery thread
- Size 110/18 universal heavy duty machine needles
- Pins
- Pin magnet
- Newspaper
- Sharpie marker
- Chalk pencil/Dressmaker's marking pencil
- Seam ripper
- Snaps (sew-on)
- Heavy duty hand-sewing needles
- Lighter
- Reflective piping
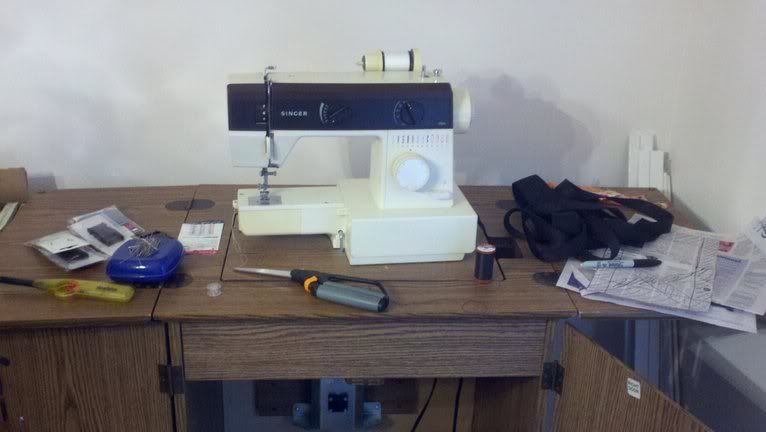
I borrowed my mom's old Singer (which is older than me) for this project, and she also let me use any of the materials that she already had on hand (seam ripper, snaps, pins, etc.). Some of the materials are additions to the list that Losech gives, but aren't really necessary. They're just nice to have. I made a pattern using the newspaper and Sharpie, which helped give me a good idea of how and where to sew. I used the chalk pencil to mark seam placement, which helps a lot and prevents you from not noticing if the material shifts. The
seam ripper is a slightly safer option for detaching the packs than a razorblade, and they're cheap (as little as $1). My mom has three, so I used one. The pin magnet is great for preventing pins from ending up everywhere. Again, there was one on hand. I'm opting to use snaps on the little tabs that help keep the packs from shifting rather than velcro because I had some on hand. I did end up having a fair amount of leftover strapping. For a pack Ebon's size with the setup I used, I had one foot of two inch and three feet of one inch strapping left. Not to mention quite a bit of thread.
 |
| Checking placement of straps. |
After detaching the bags from the harness, I marked their former location with the chalk pencil and then made a pattern using measurements from the pack. Using this, I cut out three strips of two inch strapping and four strips of one-inch strapping. I then pinned them together and checked the placement of the straps in relation to the harness, as seen above. Then, I sewed it all together, checking placement on the harness as I went. I forgot to take pictures during these steps, unfortunately, but this is what it looks like finished:
 |
| Tree with bags, buckled to harness. The X is toward the front. Ebon is a patient model. |
 |
| Unbuckled bags |
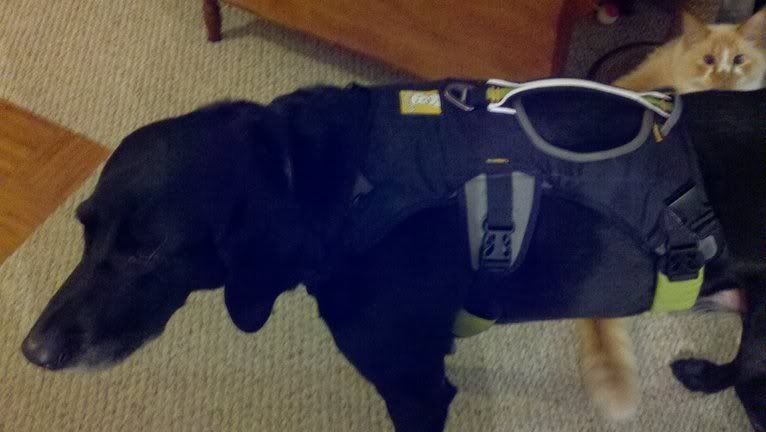 |
| Ebon modeling his new, pack-free harness, with Albus insisting he has to be in the picture. I look forward to using the harness as a seat belt, since his other harness doesn't work very well for that purpose. |
I somehow managed to do this entire project without breaking a single needle, but thanks to the thickness of the materials and thread I did spend a ridiculous amount of time undoing snarls when the machine clogged. I also had to re-thread the machine about fifteen times. I didn't have time to add the snaps or reflective piping, but when I do I'll be sure to post the completely finished product.
EDIT: Decided to give some close-ups and a little more information on how and why I did some things. I sewed the entire project using a combined zig-zag and straight stitch. I known not all machines have this option, but if you want to do this sort of thing and have access to a machine that does,
use it. This is the sturdiest stitch I could think of and all of the decisions I made concerning this project were about strength and durability. Ebon's a big boy, so I intend to put a lot of weight into this pack. Up to twenty pounds may be carried, and as such the pack needs to be as pretty sturdy. For the most part, anything I buy or make for my dog needs to be sturdy. I have a policy that if I can't ruin it, neither can the dog.
 |
| The front buckles. I ended up having to hand-sew the tabs down because the machine fought me too much. For the most part, I had only a little difficulty sewing three layers of strapping together where I needed to. |
 |
| The back buckles. I think I'm going to reinforce these tabs more because the loose ends bother me. |
 |
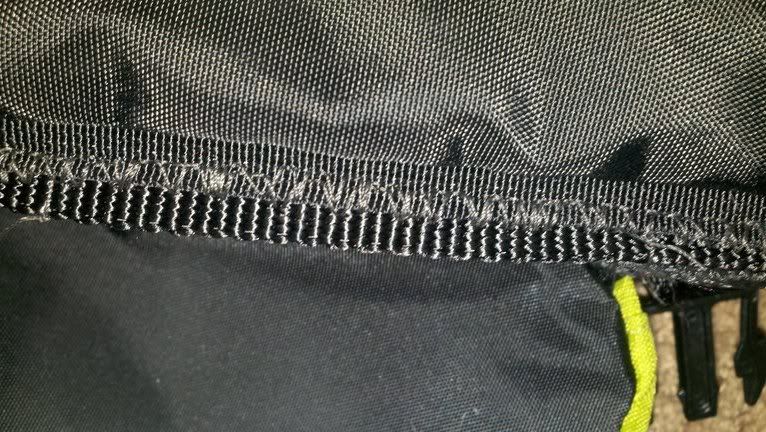
| The "wrong" side of the work, showing some of the messy bits from the machine getting stuck. |
 |
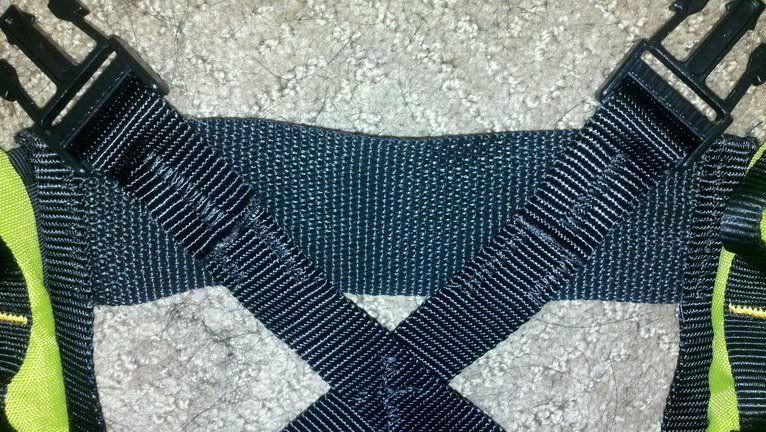
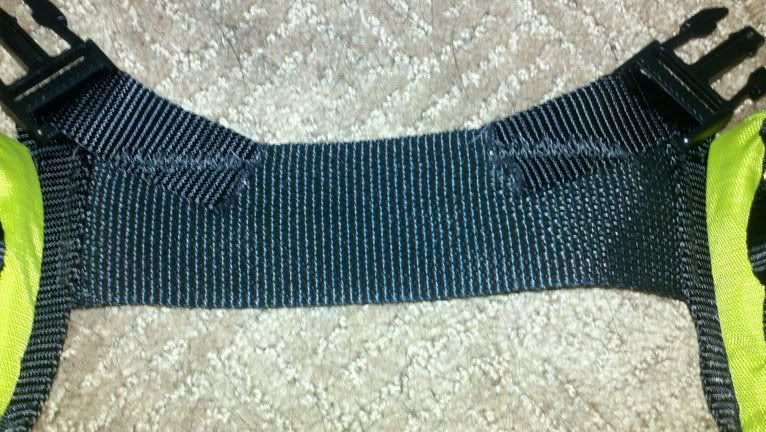
| The neater of the seems that attach the bags to the "tree." I suspect that I actually made the pack stronger since before the bags were attached by only a single straight seam. |
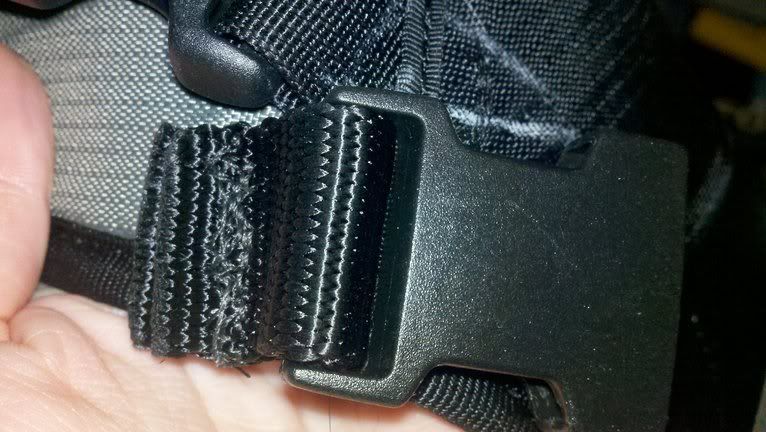 |
| One of the tabs (the neatest of them) attaching a buckle to the harness. |
I actually made my strapping "tree" a bit too large, so all of the female ends of the buckles ended up being sewn right on the edge of the harness. The measurements of the "tree" are as follows: 16 1/4" long for the sides where the packs are attached, including 4" tails for the back buckles. The three cross pieces are each 8 1/2" long. For this size pack, I would suggest dropping those measurements to 15 3/4" and 8" respectively because the finished product was slightly too large. The X toward the front of the "tree" is made of two pieces, each 12 1/2" long. They were about an inch longer, but I ended up trimming that extra bit off. I decided to permanently fix all buckle parts for strength and because the one inch strapping I used is too slick for the buckles to stay in one place.
One last note: If you do this project do
not forget to burn the ends of your straps. The cut ends of nylon straps look pretty neat, but unravel quite easily.

Nice! Yours looks so much better than mine. That was only my second time using the machine and I sewed most of the stuff on upside-down, so it makes sense that it sorta looks crappish when you look at the seams.
ReplyDeleteI did break needles, and had so many snarls it took three times longer than I thought it would. My machine wasn't the best though, not very heavy-duty, and I was probably overloading it a lot.
Anyways, I am glad you found my project to be of interest! It's neat seeing someone else's take on how I modified my pack.
I've used a sewing machine a few times before this, but it had been many years and the last thing I did was hem a pair of pants. Luckily, my mom was nice enough to help me out the couple of times I managed to get everything so tangled up that somehow the needle, machine, and straps seemed to fuse into one object. She's also a well of helpful tips because she knows the machine I used so well after years spent making clothes for my brother and I when we were little.
DeleteIt took me far longer than I thought it would too, partly because I ended up hand-tying all of my ends. Usually you can lock the stitch in place by reversing over a short distance at least once, but the first time I tried that is when the first major snarl happened. Lesson learned.
It was a lot of fun, though, I'll tell you that!